Here’s my experience getting certified so you know what to expect. I know there are other combinations you can take, such as Intro to Tech first then AN/DP after a couple of year, or Advanced Nitrox + Helitrox. Other dive shops also offer skipping intro and heading straight to AN/DP, but our club leader advised getting our foundations right. So I followed his advice and took three courses within six days: Intro to Tech + Advanced Nitrox + Decompression Procedures (AN/DP) offered by Tech Asia in Puerto Galera.
After we settled into the hotel – Arkipelago Diver Resort – and had lunch, I went to Tech Asia before sundown to get an orientation. Afterward, I was back in my hotel room starting the online course materials. I quickly learned that the topics had to be taken seriously because to move to the next chapter, the required passing grade is 100%. You cannot half-ass it.
Day 1: Relearning OWD + AOWD + Rescue Skills with Double Tanks
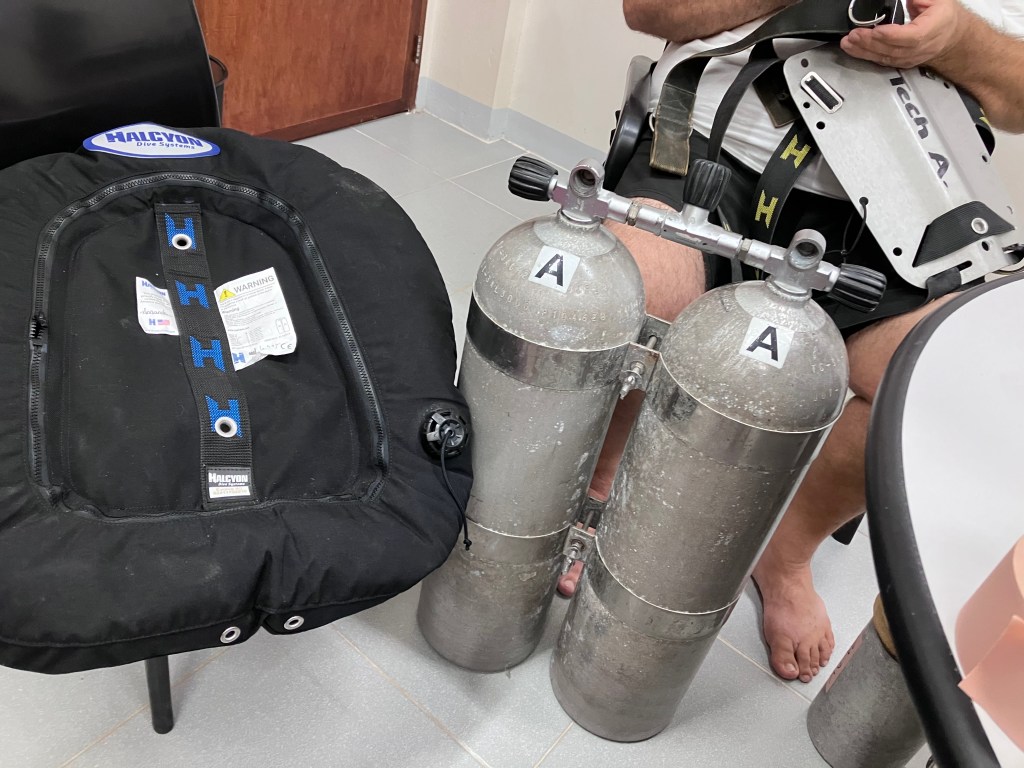
My day started at 6:30 AM to continue reading the online course and taking exams—yes, I couldn’t find time to complete it before going to the island. Classroom discussion started at 8:30 AM, beginning with an introduction to the equipments.
Dive #1: Malaking Parang
In the afternoon, we went to Malaking Parang, a 7-8 meter depth site, to perform the following skills with double tanks. It’s a safe site, very calm but with limited visibility.
Skills practiced:
- Buoyancy control
- Regulator exchange
- Regulator retrieval
- Mask flooding and clearing
- Mask removal and replacement
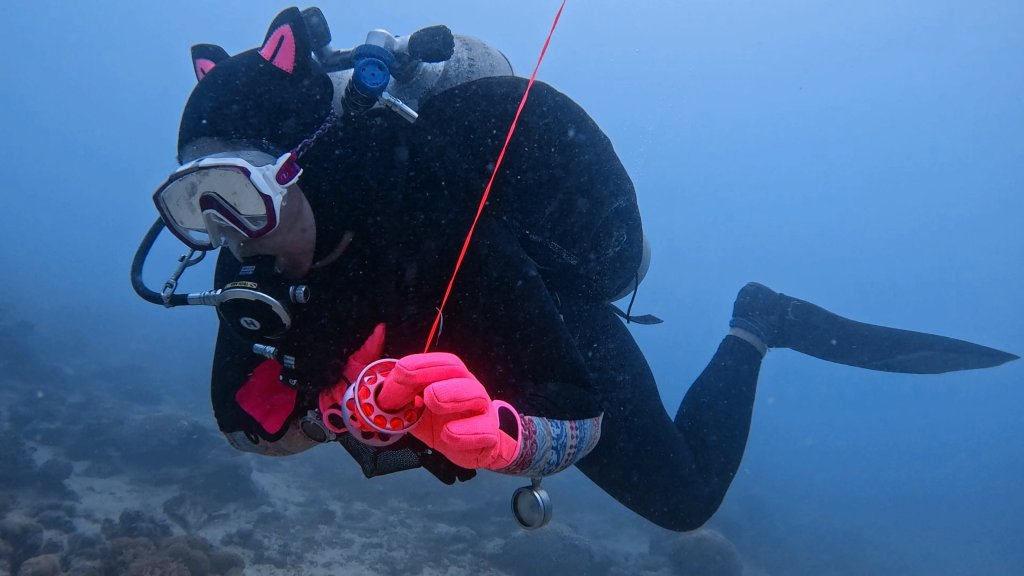
- Surface Marker Buoy (SMB) deployment
- Back finning (failed!)
It was an entirely new experience, and all I could say was: I’m relearning OWD + AOWD + Rescue Skills with double tanks on my back! We had a very detailed debrief afterward. My form and skills were objectively critiqued while I self-reflected on habits and experiences to help me unlearn recreational scuba diving techniques.
Back at the hotel, I continued reading the online course and taking exams.
Day 2: Green Humphead Parrotfish Encounter!
I made it a routine to wake up at 6:30 AM until the last day, continuing the online course and taking exams until classroom time at 8:30 AM.
Today we had two dives at 17-18 meters, unlearning bad habits and practicing skills with double tanks.
Dive #2: Kilima
The first dive site was Kilima, where I saw a Green Humphead Parrotfish up close. I maintained a respectful distance to avoid scaring it while continuing to be in awe of encountering such a large creature. The dive was uneventful until SMB deployment—I dropped the reel, but fortunately we were only at 7m, so I was able to dive down and retrieve it. I still couldn’t back fin properly tho.
Debrief lesson: If I drop the reel again, let it go and continue the deployment. It will surface anyway. I wouldn’t fully understand this until I dropped it again at 18m later on.
Dive #3: Ernie’s Point
We made adjustments to weight placement—moving weights from my back to my crotch strap, which helped greatly in getting my legs down. I was finally able to back fin, and my SMB deployment was much improved.
Day 3: Decompression Tank and 10 New Skills!
We spent the morning in the classroom discussing new skills, then went back to Malaking Parang in the afternoon to test them out.
Dive #4: Three-Tank Configuration
Here are the new skills on top of the previous days’ skills, this time with three tanks:
- Deco tank procedures: remove and replace, gas switching
- Feathering skill to preserve deco gas and cleanup
- Gas sharing protocols
- Valve management
- Towing a tired diver
- Stress test: breath hold for 15 seconds (failed)
- Back finning and helicopter turns (failed, had to adjust weights)
- SMB deployment
- Surface Air Consumption (SAC) calculation
Day 4: Decompression Skills at 30 Meters!
As with previous dives, we STARTed with equipment drills to ensure we were both ready for the dives.
Dive #5: Sinandigan
The site starts with a 6m sandy area where I practiced the new skills again before descending to 32m. I could feel a new kind of pressure diving with three tanks! Ascending to 21m was uneventful, but as expected, switching to deco gas took longer than planned.
The planned DSMB deployment was at 18m, and I dropped the reel again! This time I remembered I could let it go and continue the deployment. But being my first time with everything, I held onto the buoy too long after inflating it, shot up to 12m, then dove back down. My instructor had to take over while I observed how to recover the reel. I tried to help but proved useless, almost causing the line to tangle during our drifting ascent.
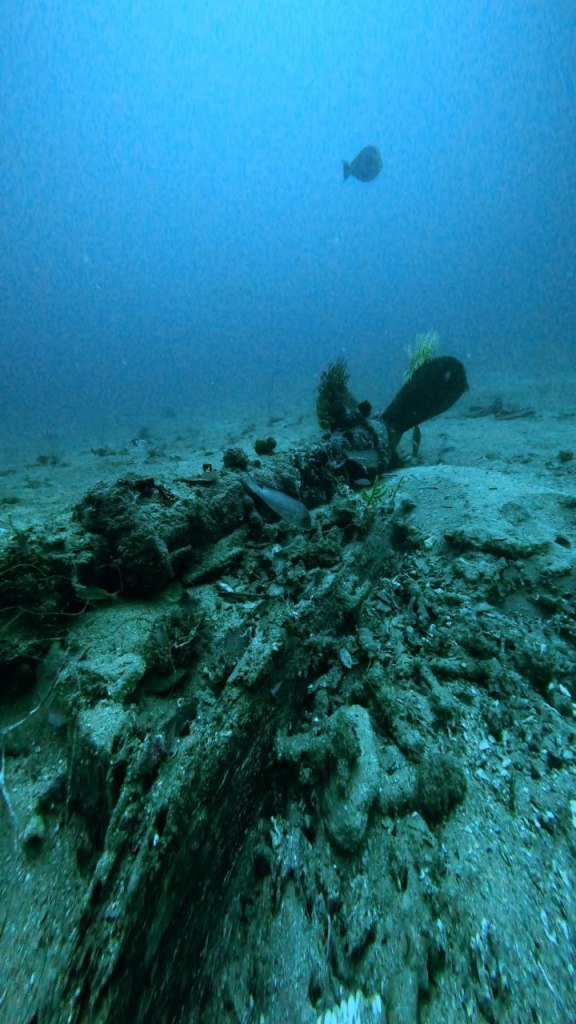
Dive #6: Alma Jane Wreck
Not my first time at this dive site—it was my third visit to this wreck, but this time with three tanks. My buoyancy was improving; I ascended too fast only twice. The DSMB deployment was uneventful, but I made the mistake of using it as a flotation device, making me negatively buoyant. The instructor took over, and as soon as he did, I dropped fast, proving I had been using it for buoyancy control, lol. It was another drifting ascent. My deco tank was left with only 10 bar. Later at the shop, we confirmed the regulator had a leak, explaining the high air consumption rate.
As with previous dives, we ended with a thorough debrief, objective criticism, and an action plan to improve my skills.
Back in the classroom, we discussed and planned the dive objectives for the next day—45 meters!
Day 5: Reaching 45 Meters!
In the morning, we spent time to discuss my questions from my reading and then we reviewed the plan and dive objectives again. The exams were getting easier at this point because the topics had been discussed in class and experienced underwater.
Dive #7: Deep Monkey Beach
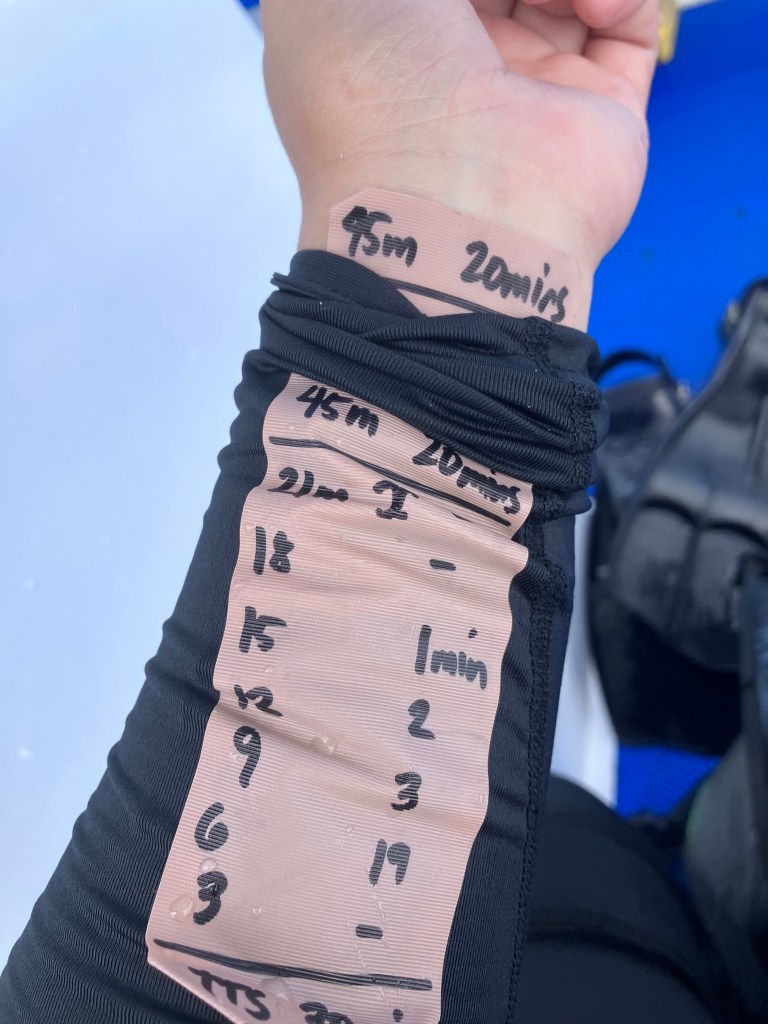
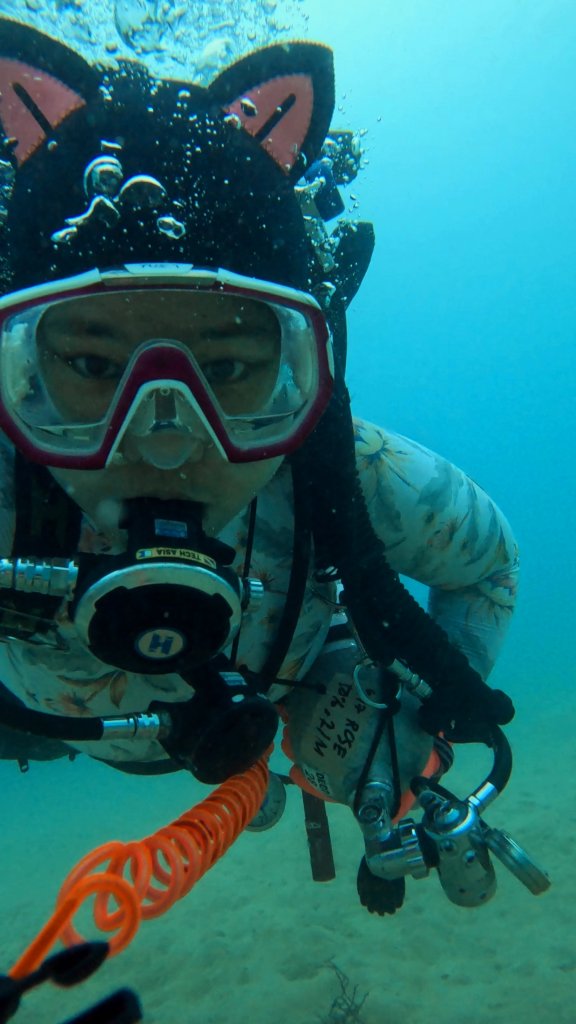
I streamlined my equipment as much as possible, got my regulators and valves checked, replaced dangling cords with clips, and mentally rehearsed the actions I needed to perform. I practiced movements with my hands, especially working on dexterity in my left fingers. I wrote our dive plan on tape, stuck it on my rash guard, and placed another on my skin for redundancy—because on this dive, I was the deco captain!
The result? Completely uneventful! We successfully and safely reached the target depth of 45m and recorded it on video. My buoyancy was well-managed with no fast ascents detected by Garmin. Although there was a moment I got distracted by a coral field, I immediately refocused. DSMB was deployed at 6m with no incidents.
My instructor was smiling on the boat afterward. He said he’s a control freak and that he really liked that dive. I communicated well, provided clear instructions, and everything was well-managed and controlled. I didn’t run out of deco gas and didn’t drop my reel!
Back in the classroom, I was given the assignment to plan the final dive—the Japanese Wreck at 42m.
Day 6: Passed my exams! But the last dive was a bit of a wreck…
In the morning, I presented my dive plan, showing how I calculated it manually and comparing it with the software we had discussed. We had to follow the Garmin Mk3’s plan, but it was educational to dig into the numbers and compare what each algorithm and software showed.

I presented two plans:
Plan A: Drop quickly to 42m, stay 5 minutes on the wreck, swim out for 10 minutes to start a slow ascent by the coral reef
Plan B: Drop quickly to 42m, stay 20 minutes on the wreck, ascend via the anchor line following the dive computer
Due to tide and current conditions, Plan A was risky—the ascent might take longer and I could run out of deco gas based on my SAC rate. Even though I thought I’d be calmer with that profile and might control my consumption better, there was a 10-minute swim from the wreck to reach the coral reef, and a lot could happen in 10 minutes. So despite not liking Plan B, we went with it. I don’t like “blue water” diving.
Dive #6: Japanese Wreck
GoPro13 Hyperview
Starting with a negative mindset made it hard to recover mentally once stress and anxiety kicked in. Everything went smoothly until we reached 6 meters during ascent. We had to decompress for 14 minutes, and I’d never held still that long. It was a long deco stop in blue water—boring and mentally challenging.
My instructor performed a planned emergency drill. My job was to be his depth reference, but I couldn’t hold my depth properly. After the drill, I checked his remaining time—5 minutes—and my deco gas was down to 50 bar. In my plan, even in the worst situation, I should exit with 60 bar. With this realization, my consumption rate increased as my worry grew. I surfaced with only 20 bar remaining. I hated that dive.
The debrief was extensive to understand what went wrong. I still had 120 bar of bottom gas, so I wasn’t in real danger, but I wished I had managed my stress better.
We discussed the next steps to eventually reach 100 meters (which he doesn’t encourage as a goal), but he walked me through the milestones to get there. For me, the next step is gaining valid technical diving experience.
I’d been discussing my daily experiences, struggles, and successes with my club leader. On the last day, I asked how we could gain valid tech dives together since we’re the only divers in our club with this certification. Hopefully, in three years, I can take the next course to reach 55-60 meters!
The Role of Technology: Garmin Descent Mk3
A huge part of this technical diving experience involved relying on the Garmin Descent Mk3, which I trust to understand my body’s physiology. My dive instructor (and even my club leader) was fascinated by the amount of data and information the Garmin provides to help prepare for dives and conduct thorough debriefs.
===
That’s it for now! Check out Part 3: Getting Certified in Technical Diving Using Garmin Descent Mk3 for detailed insights into how dive computer technology enhanced my training experience. Or read Part 1 if you’re planning to dive in Puerto Galera.
🌹

Leave a reply to Birthday Dive in Puerto Galera: Getting Certified in Technical Diving! (Part 1) – Office Escape Adventure Cancel reply